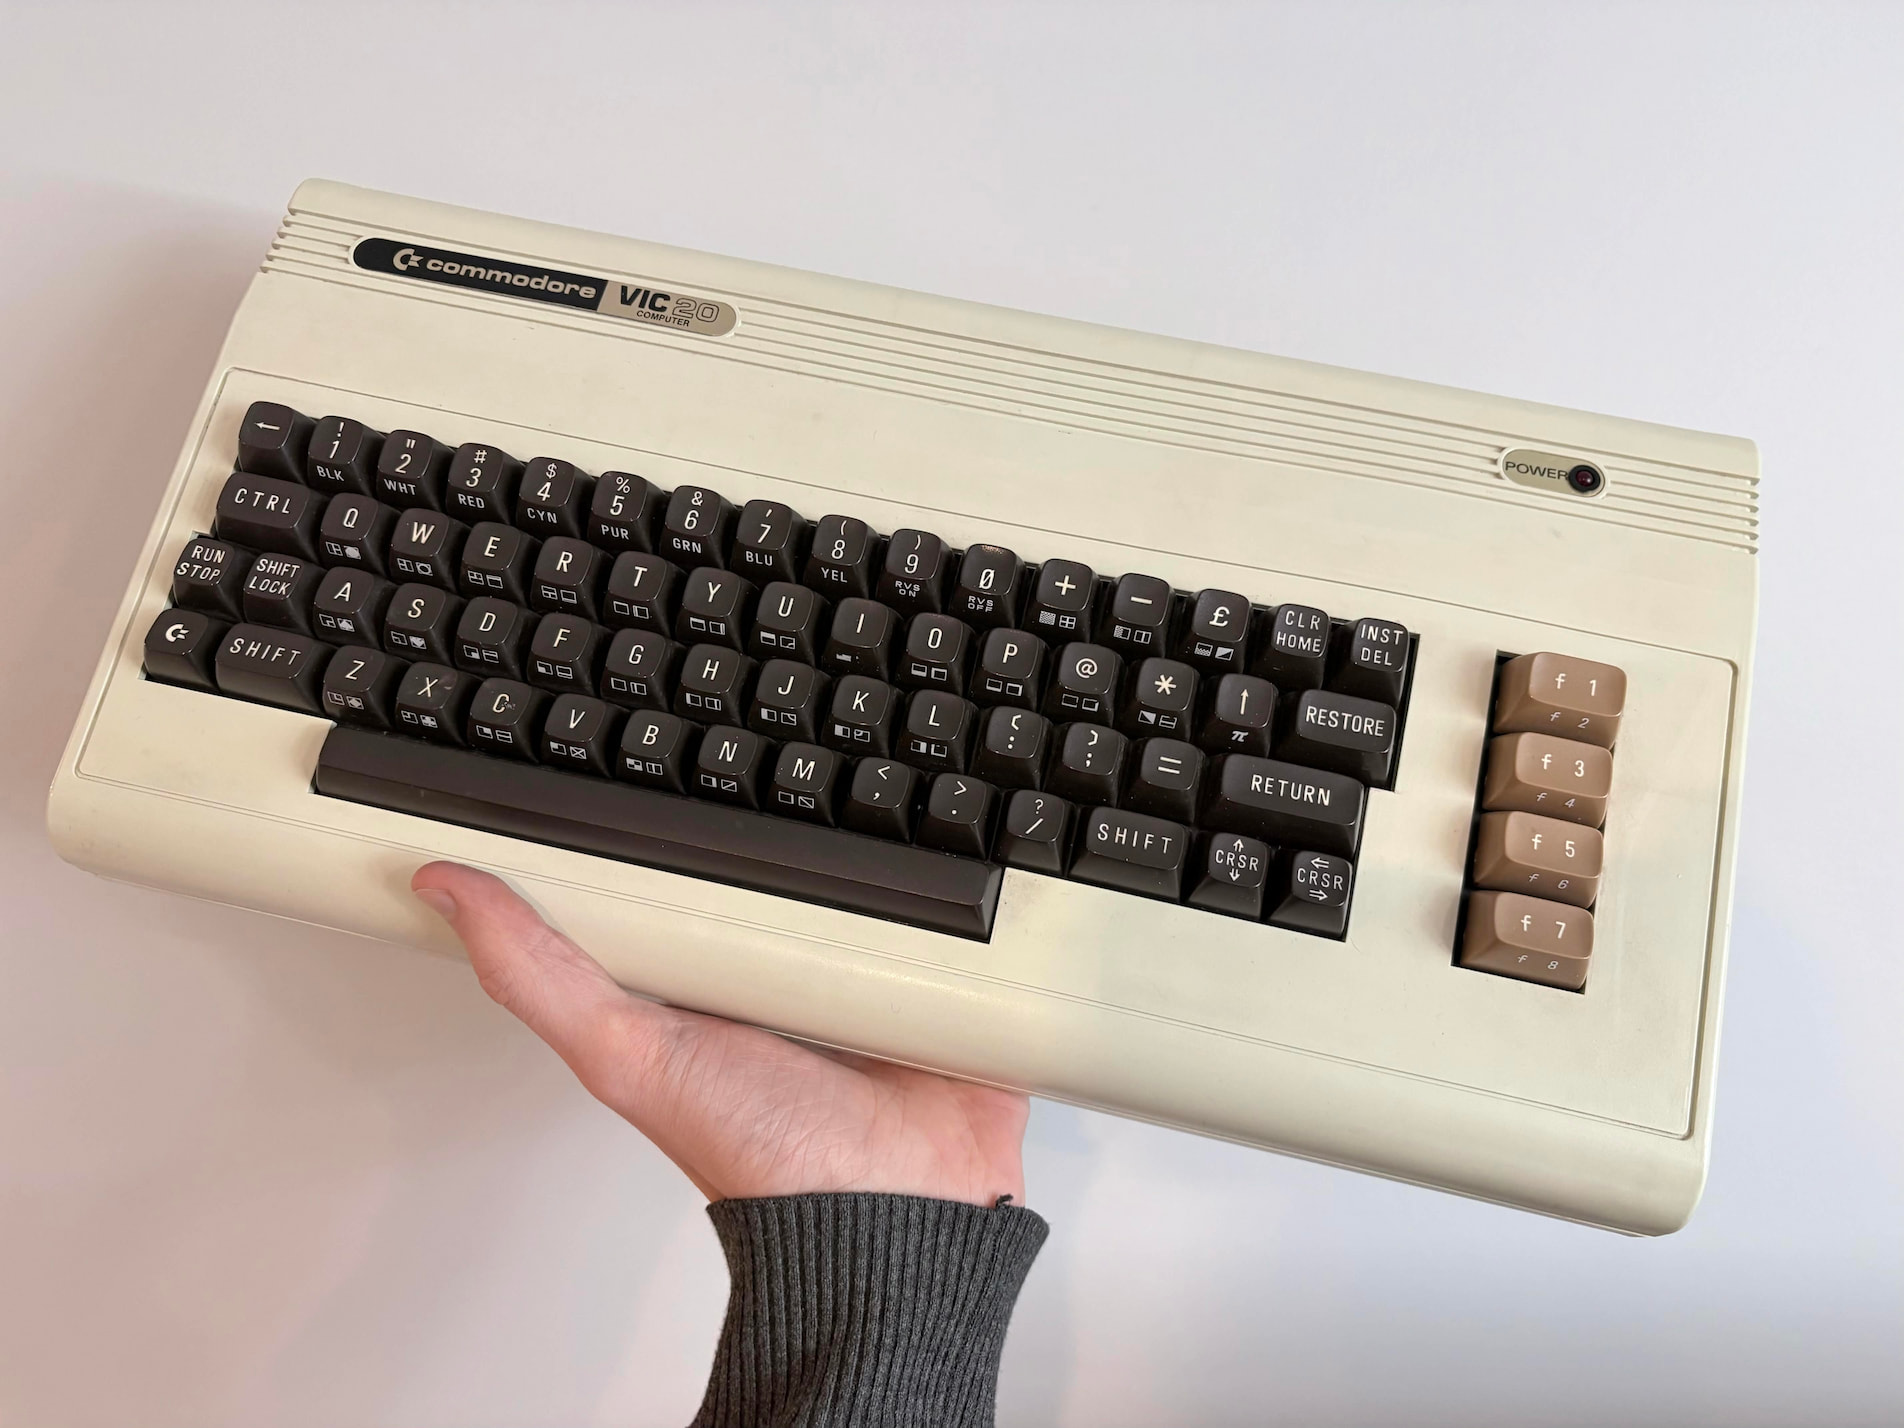
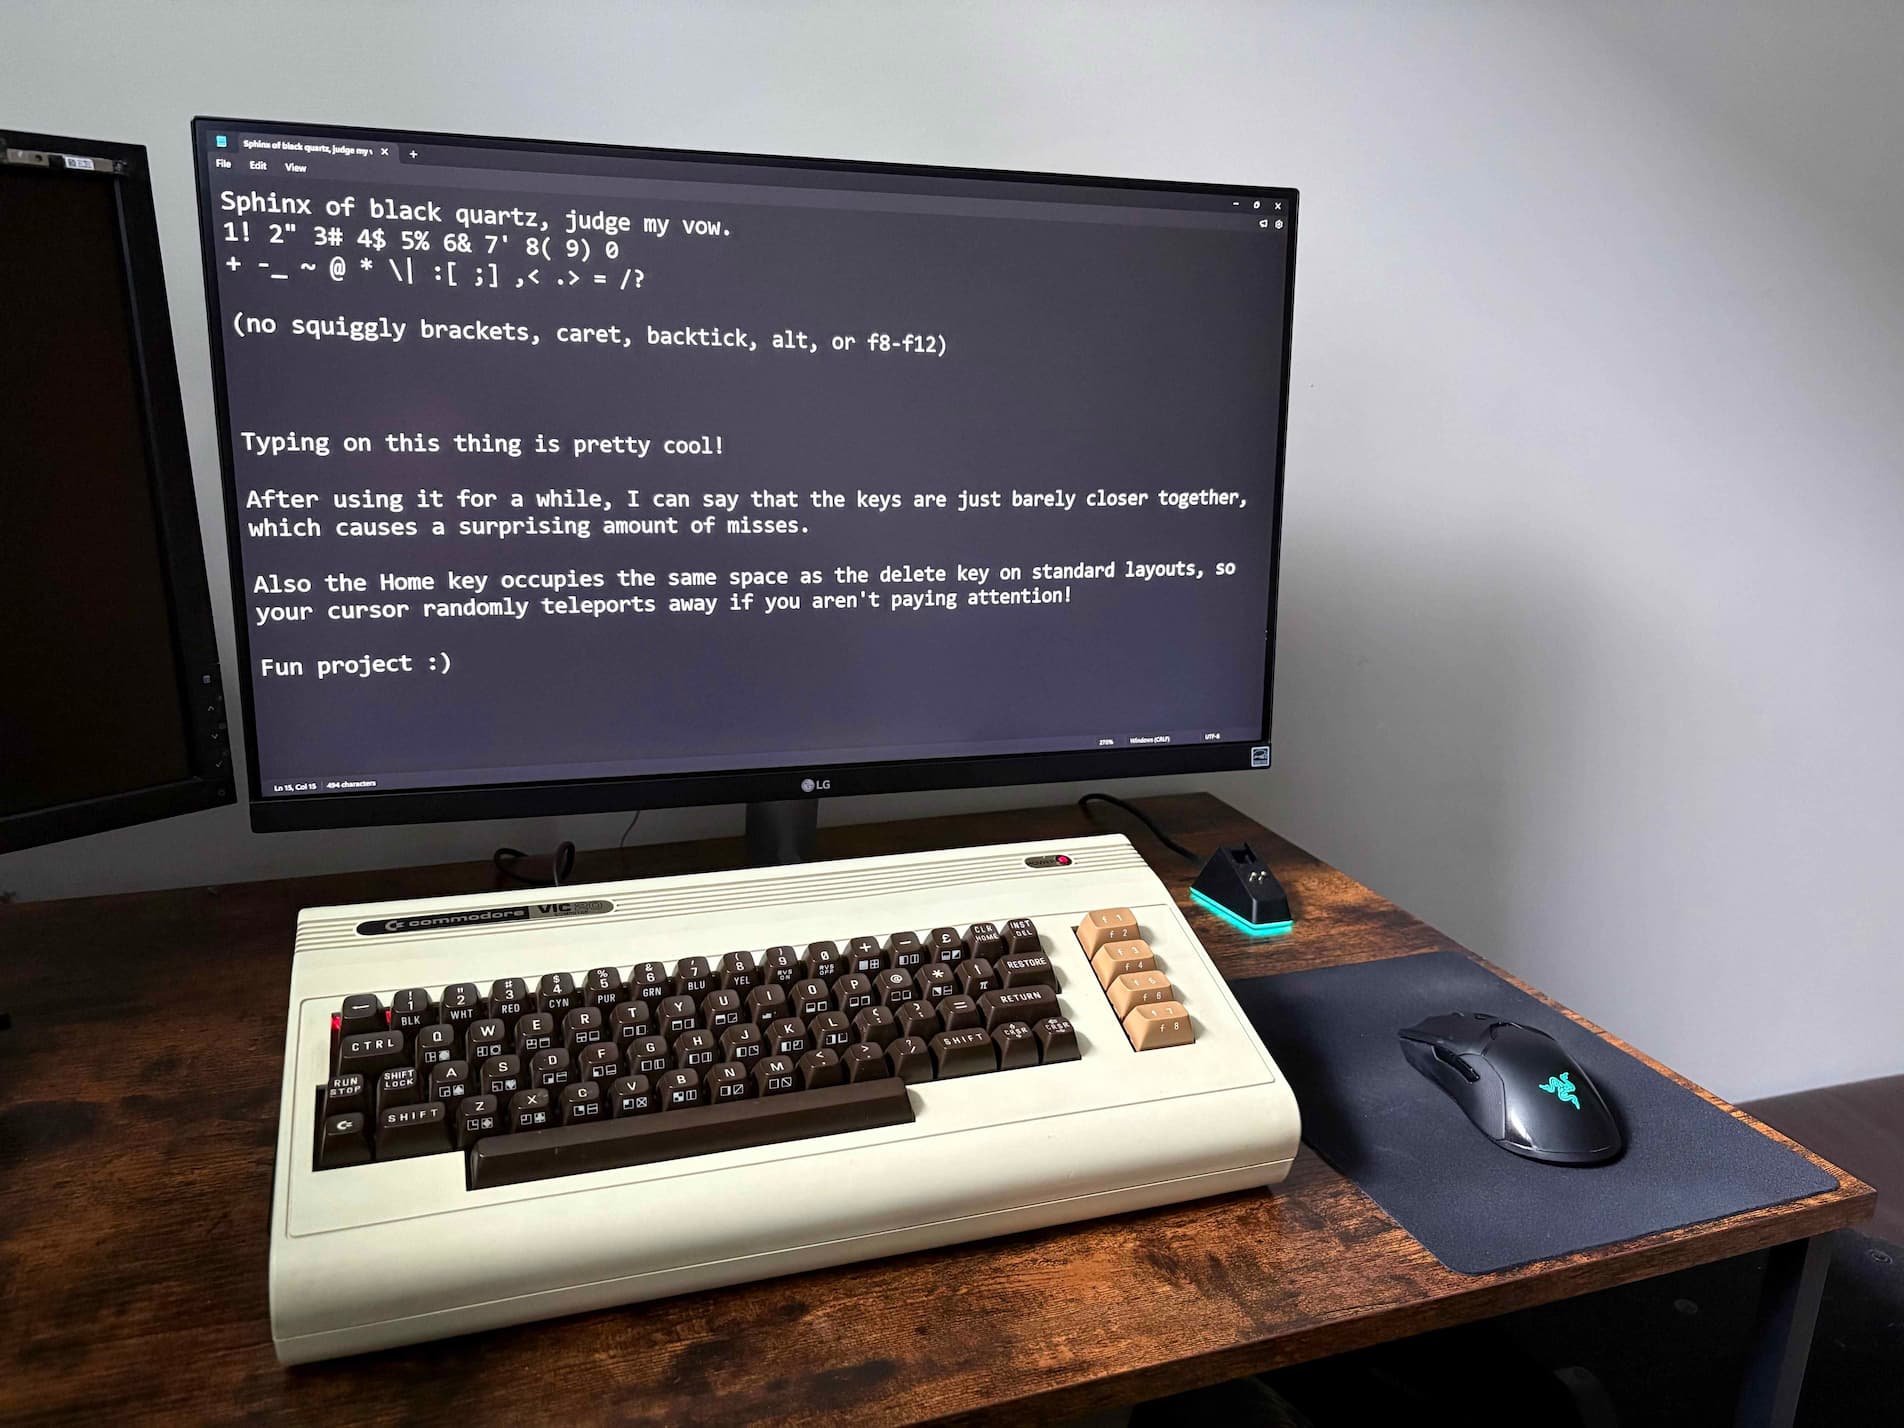
The existing hardware in a Commodore VIC-20 (released in 1981) is unusable by modern standards, which is unfortunate because the keyboard is really cool! It predates both the ANSI (1988) and ISO (1985) keyboard standards, and acts as a window into how the technology evolved.
This project aims to salvage the keyboard by discarding the original computing board, and wiring a modern microcontroller directly to the keyboard, which can then translate keypresses in software in a way modern operating systems understand.
Hardware
For the board, I chose to use an Arduino Pro Micro, primarily for the ATmega32U4, which is extremely common in custom USB keyboards. This allows it to act like a native USB device, and means it can both communicate and receive power over one 5V USB connection.
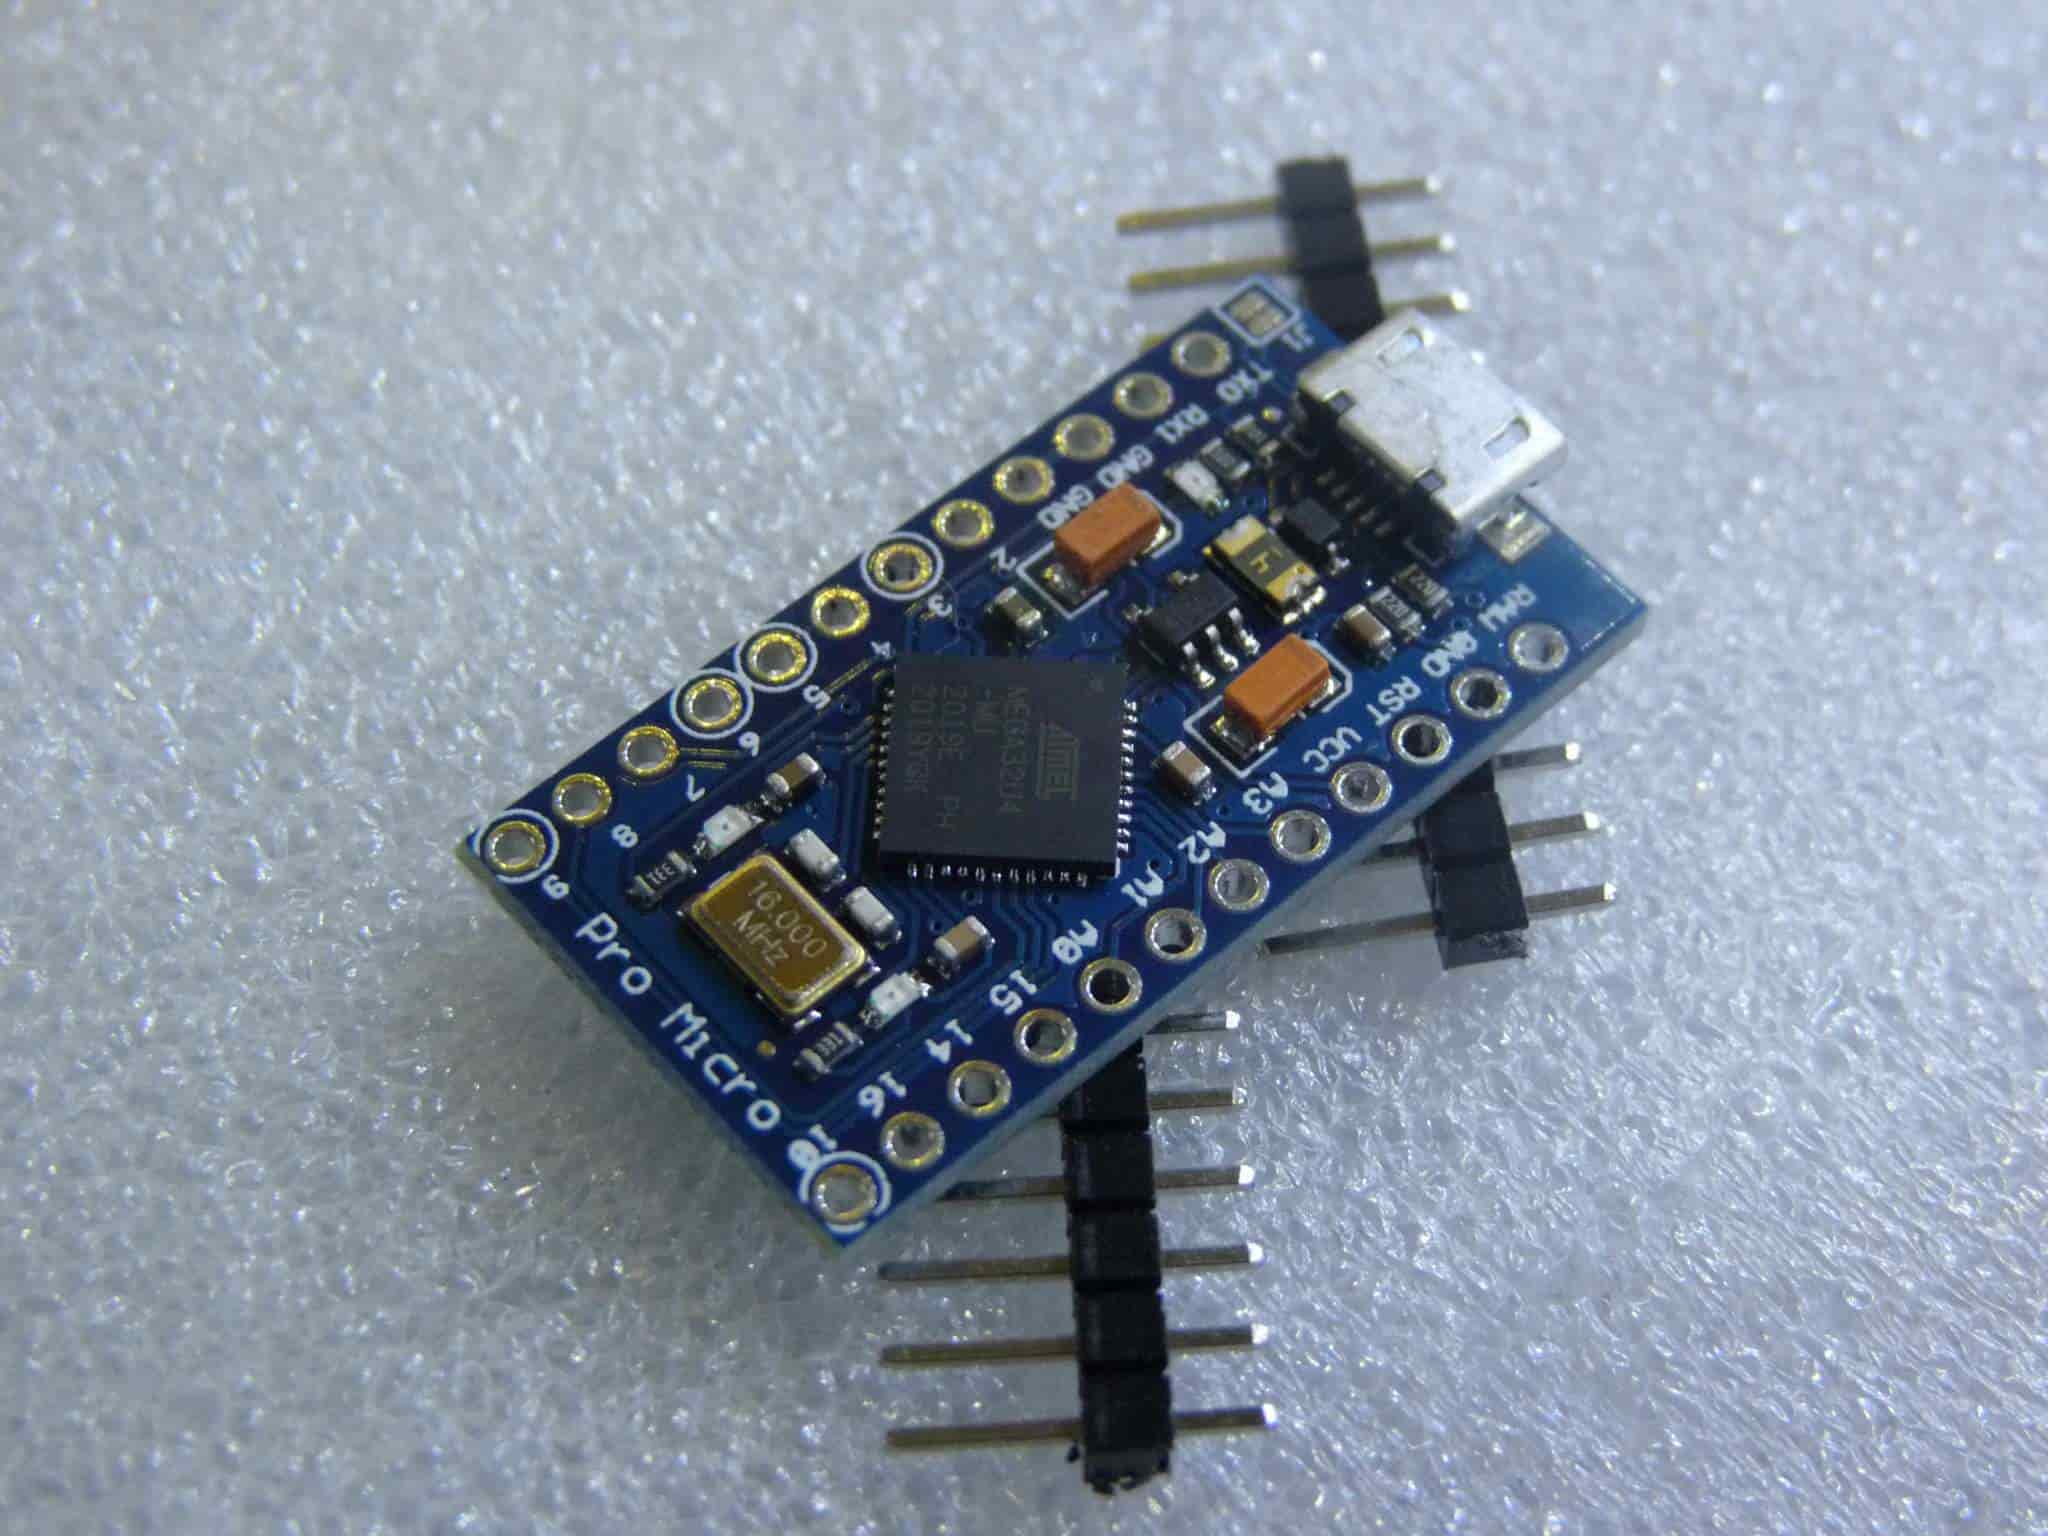
I then connected the two sets of 8 pins that denote row and column for the keyboard module directly to the Arduino, which I could reorder as needed in the firmware.

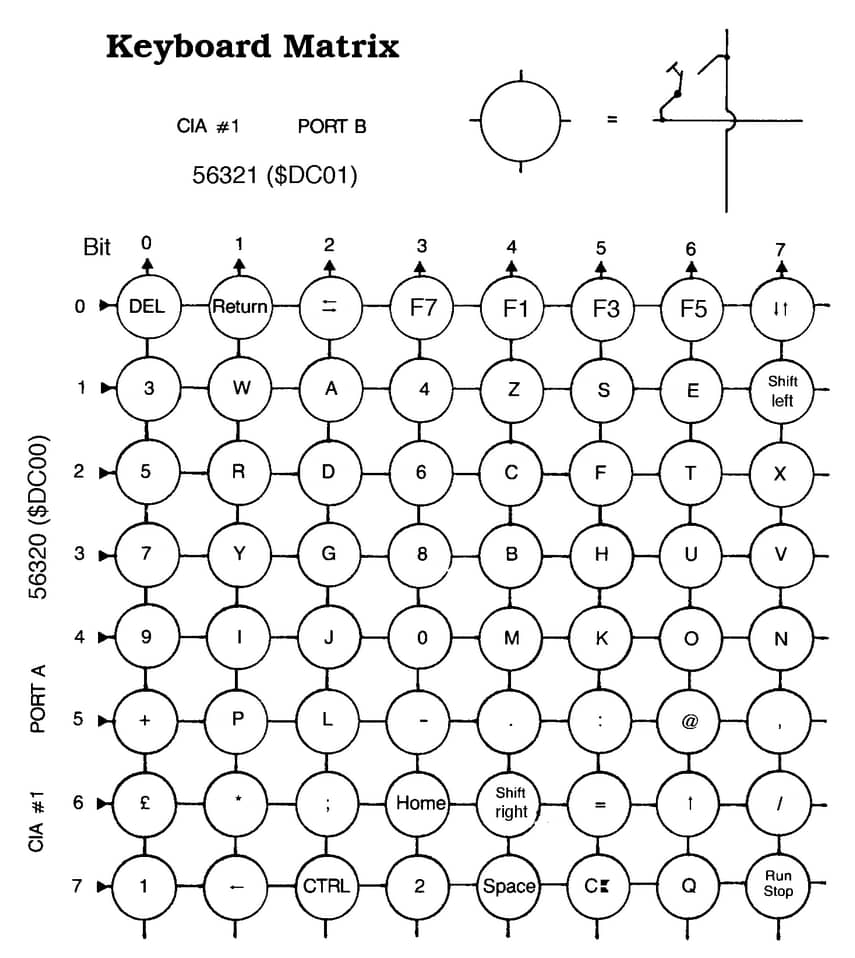
Above is the mapping I used, I chose to follow these wiring diagrams for the C64 (which shares a keyboard layout with the VIC-20), hosted by the University of Waterloo. I relied heavily on their keyboard matrix while writing the firmware.
Firmware
The firmware itself is very simple, it makes use of Arduinos built-in <Keyboard.h>, and scans over buttons to see if state has changed, and if so informs the host.
Most keyboard functionality, like hold to repeat, or symbol translation (while holding modifier keys), is typically handled by the OS. However, the VIC-20 has a highly nonstandard layout, and so required some overrides to trick the OS into receiving the exact symbol as labeled on the keys.
You can either download the firmware directly, or find it on my github.
Prototyping
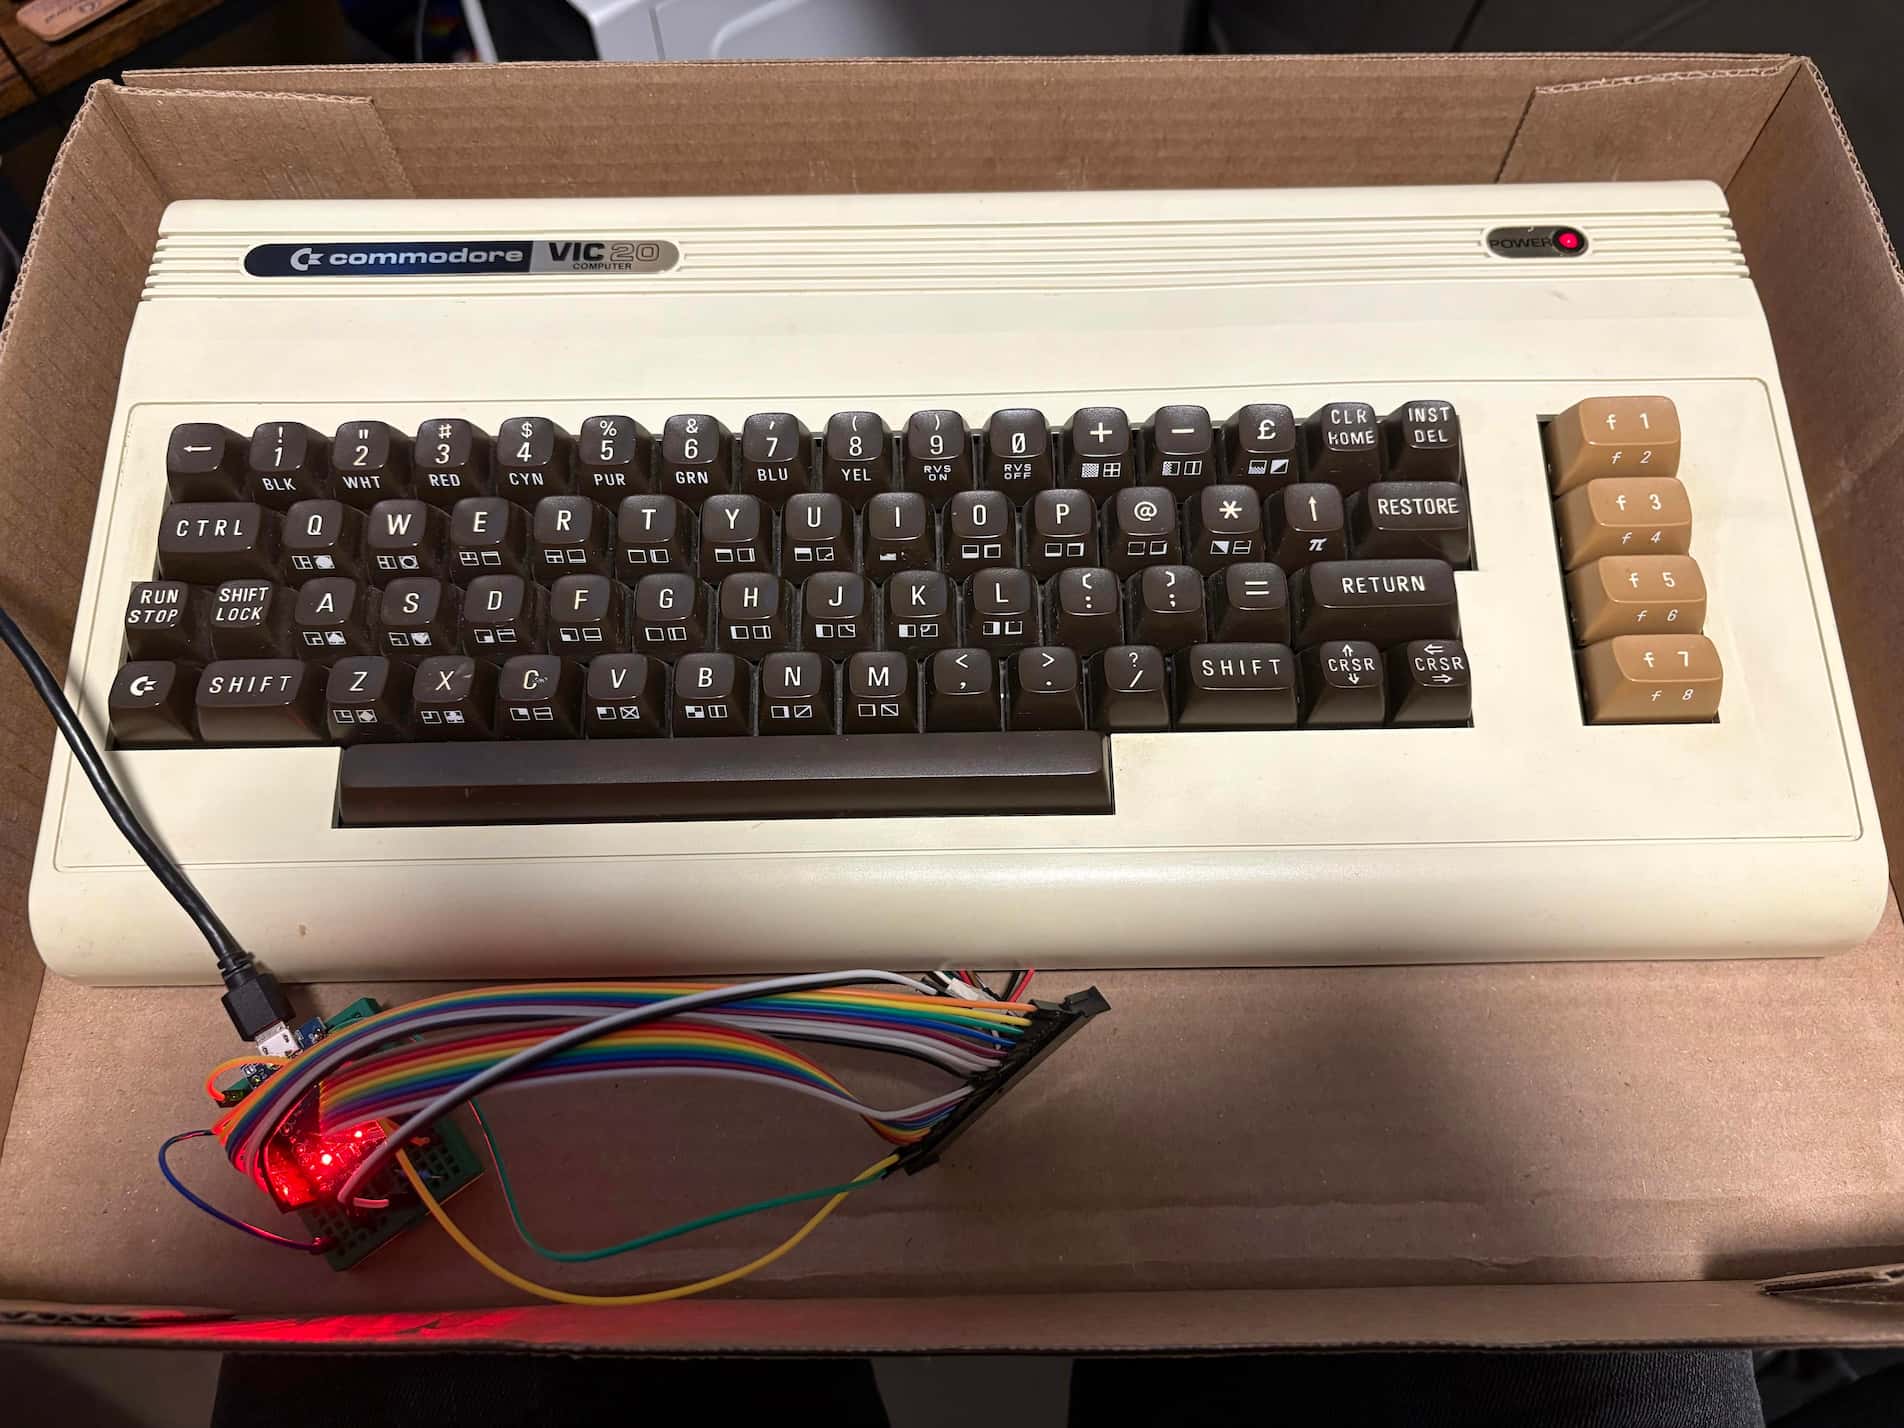
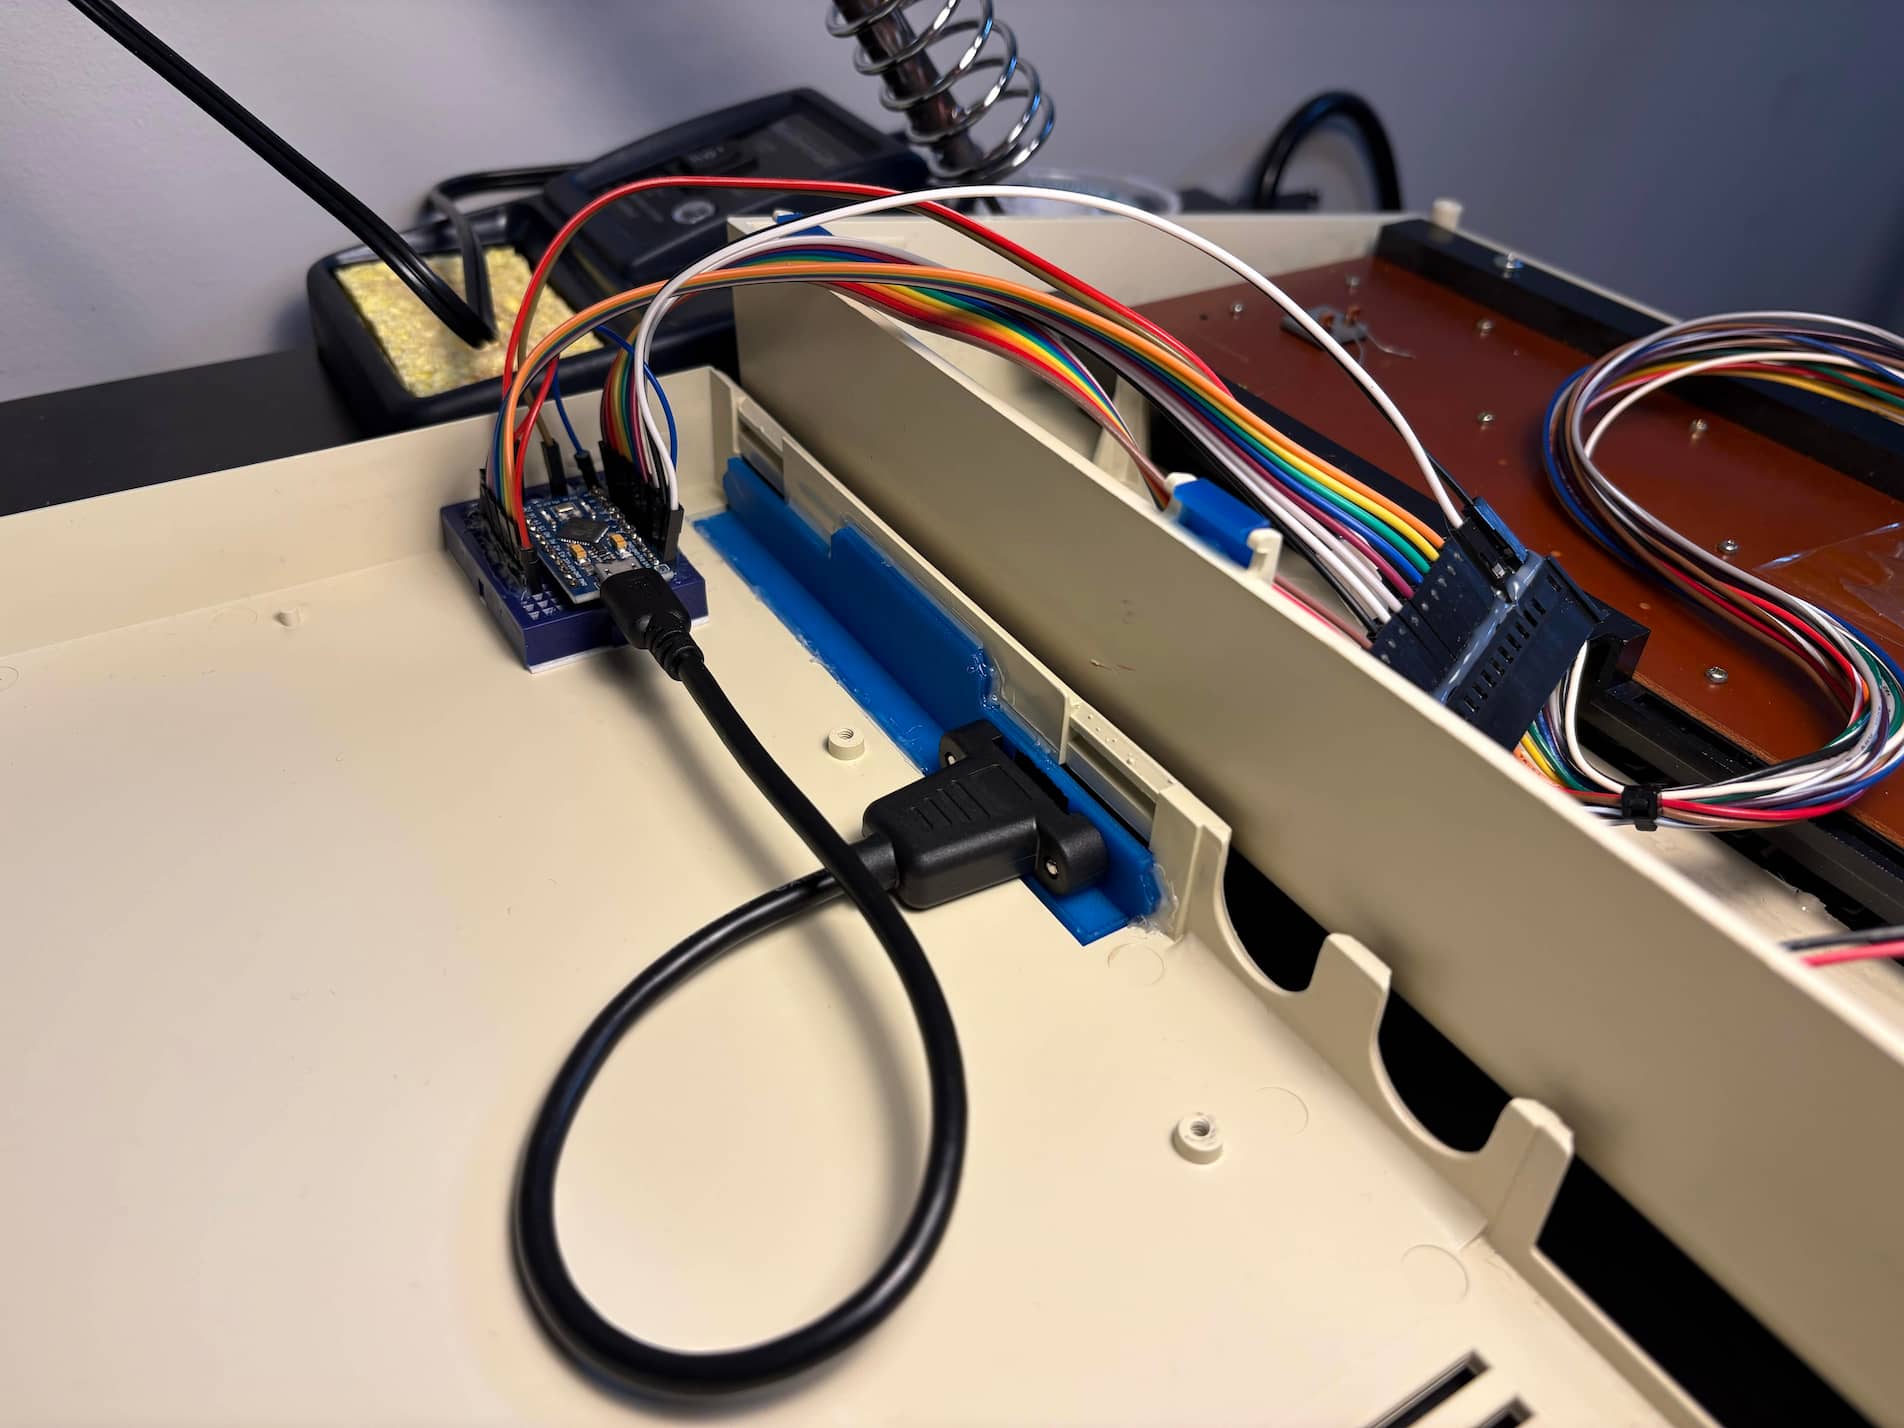
After soldering the headers onto the Arduino Pro Micro, I set up a breadboard prototype to verify the matrix scanning before doing anything permanent. With the row and column pins connected via jumper wires, I ran the firmware and set keybinds to match the key press that appeared over serial.
It took many iterations of the firmware before everything was mapped correctly, but I was able to confirm everything was working before mounting it inside the case.
Assembly
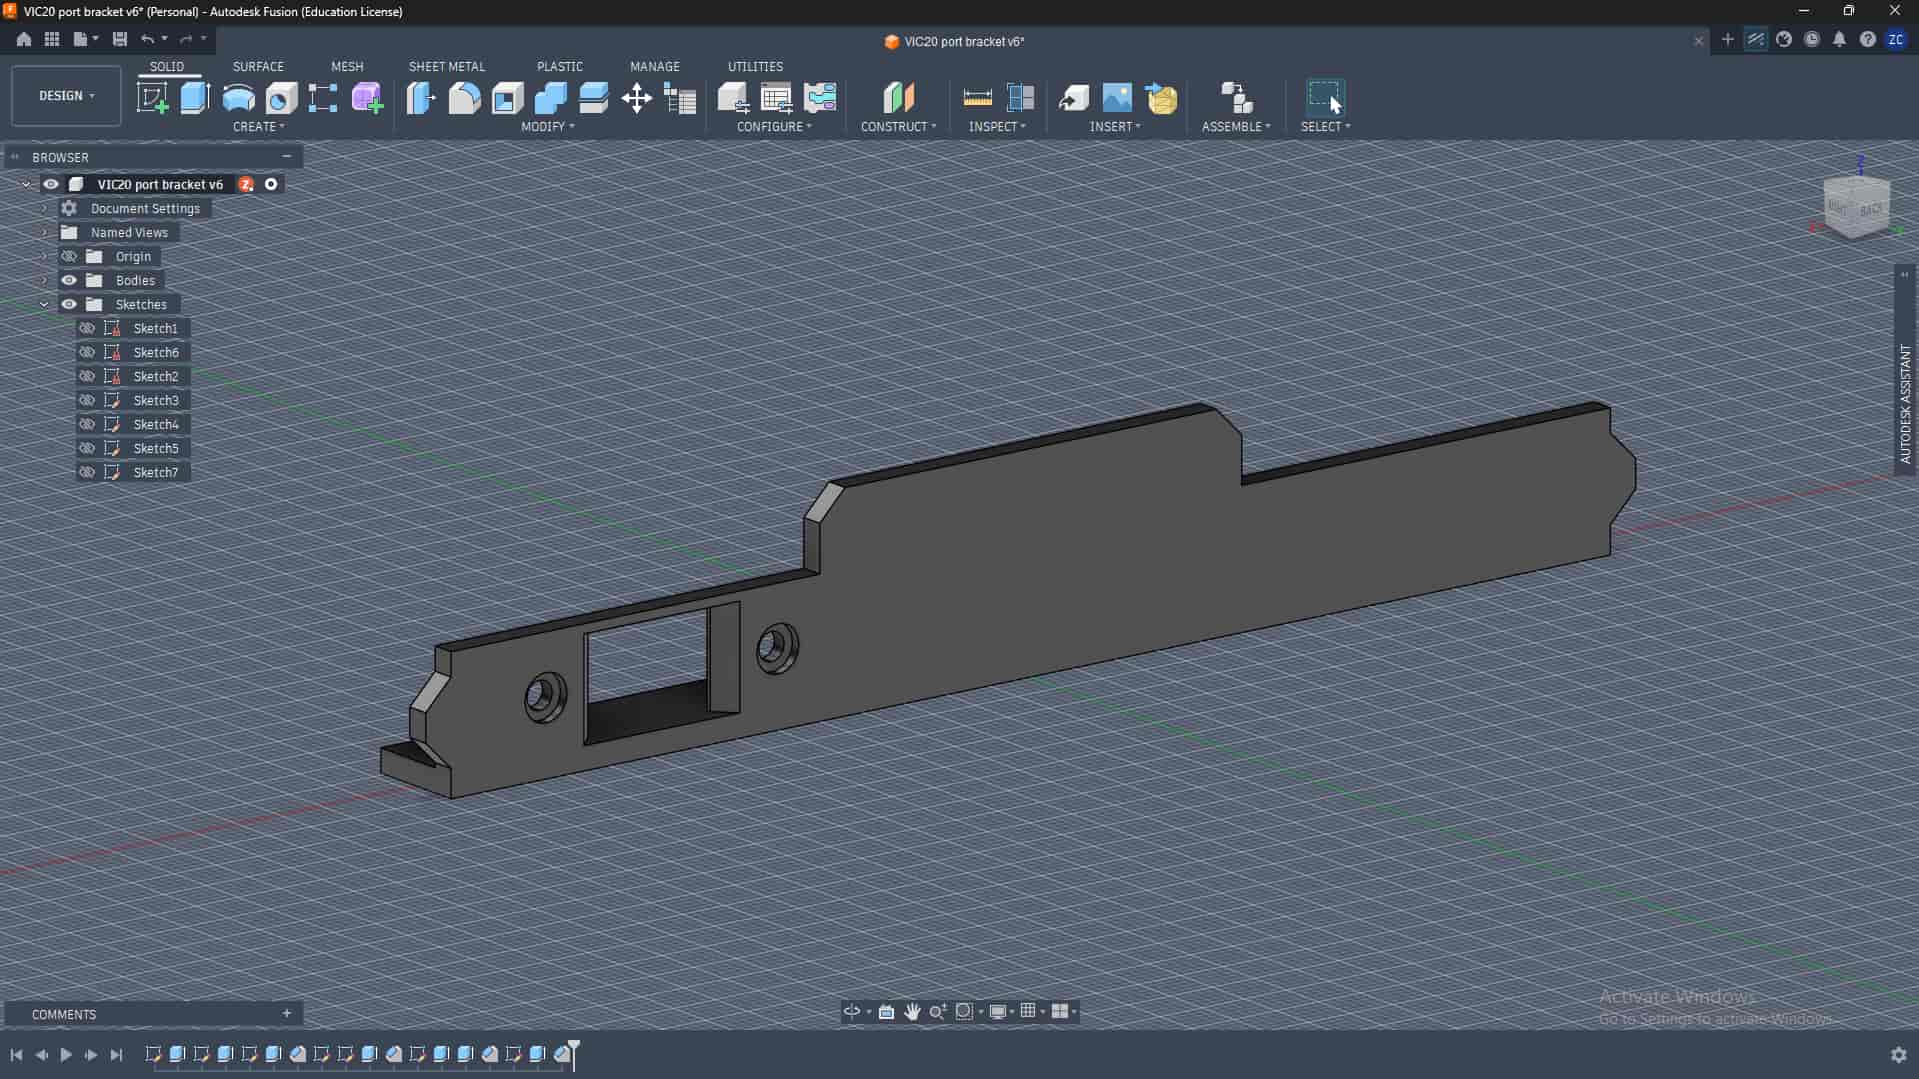
To make the USB keyboard genuinely usable, I wanted a dedicated port mounted to the shell, to avoid cable strain on the Arduino. I got a cheap panel mount extension, which I designed a custom 3D printed back plate to support, and glued it in place. You can download the stl here if you can find a cable with matching dimensions.
Additionally, when I got the VIC-20, one of the six clips that hold the case together had snapped off. I decided to 3D print replacement clips to reinforce them, since its apparently pretty common for them to break. I used a design from Ken Mills, which you can find on printables.
As for the final assembly, once the electronics were finalized I used double sided mounting tape to hold the breadboard in the back corner of the shell, and reinforced every connection with hot glue to keep them from working loose.
The 3D printed panel also serves to block access to the electronics, so they are hopefully shielded from water and dust.
I also decided to wire the old power LED to VCC with a 220Ω resistor, so it will be lit whenever the keyboard is powered.
Finally, I created a laminated reference card that lives inside the keyboard case. It includes the full pinout mapping between the Arduino and the keyboard matrix, a list of mirrors for the source code, and step by step instructions for updating the keybindings by reflashing the firmware. That way hopefully anyone who opens it in future will have everything they need to repair or modify it.
And with that, its done!
A natural next step would be to add something like a Raspberry Pi 5, which would allow the VIC-20 to be used as a self contained computer again. The keyboard already acts as a standard HID device, so it would be as simple as just connecting the Arduino to the Pi and adding case mounted ports, though for my use case I find it more helpful to plug into a standalone desktop.
Verdict
Im very happy with how this project turned out! If you have a VIC-20 or Commodore 64 and for whatever reason want to get the keyboard working with modern hardware, I would highly recommend this approach.
The only revision I would have made was making the dust cover around 1.5mm longer to improve the fit, which Ive already done for the included file if you decide to try this yourself.
If you do end up following along, feel free to reach out! Im happy to help if anything is confusing :)